My name is Karla and I’m one of those foodies that will go nuts over a great meal. I’ll always compliment the chef and maybe even get the recipe too. For as long as I can remember my family ate dinner together and talked about food one way or another. This blog will reflect on those memories growing up in an Ecuadorian household, learning to cook, and sharing my favorite recipes. Although I’m a huge fan of savory dishes (and anything with garlic), you’ll also see a few recipes for those with a sweet tooth. I’m just getting this new blog going, so stay tuned for more. Subscribe below to get notified when I post new updates.
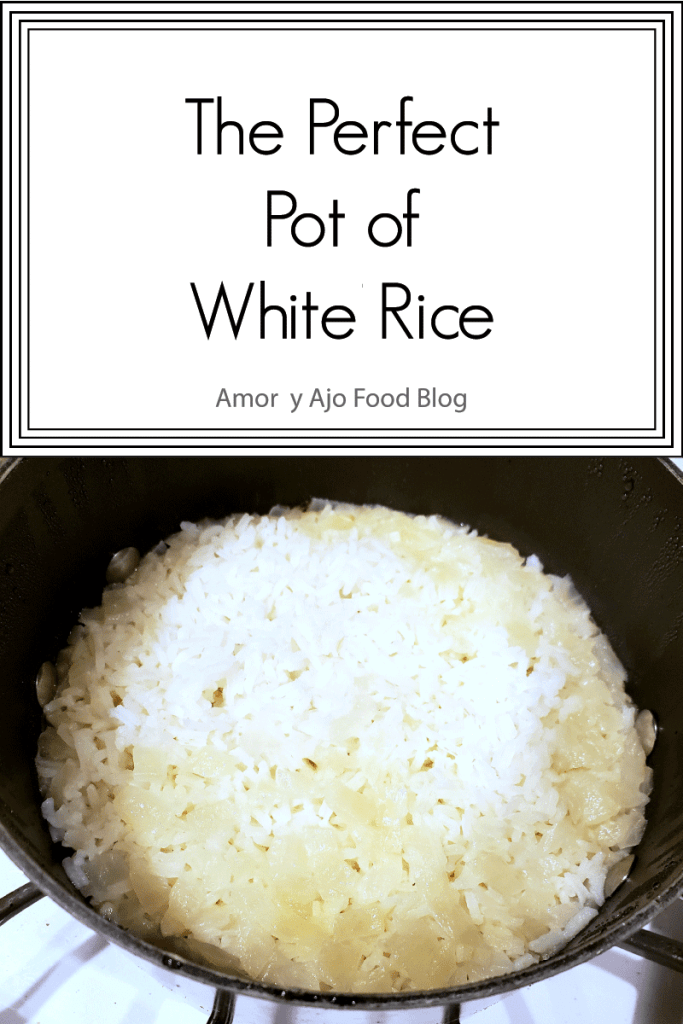
I remember growing up that rice was one of those things we always ate with pretty much every meal and almost every single night. Some Latin American cultures favor the tortilla or perhaps the occasional papa (potato) dish. In my family, white rice was our staple. Since we cooked it so often you can imagine how we know how to make the perfect pot of rice every time.
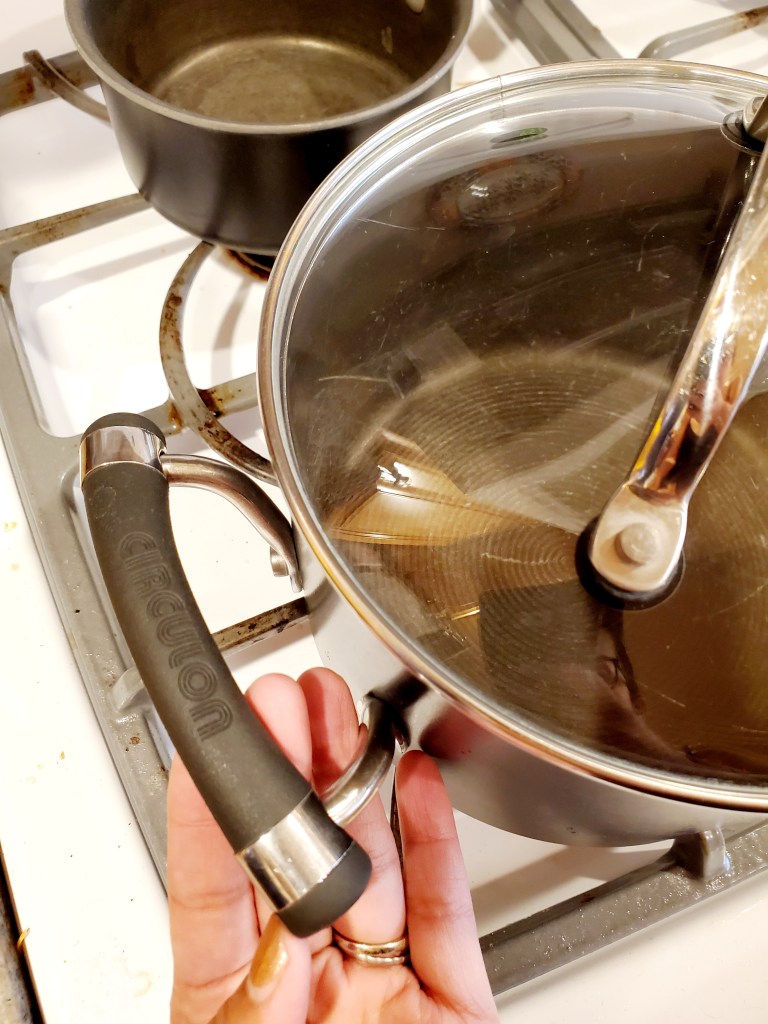
You need to have a rice pot. And I’m not talking about a rice cooker because that’s completely different. I mean a pot that will end up being your go to rice pot that’ll create endless amounts of yumminess. Not that you’ll never use it for anything else, but you will always cook your rice in it.
I was gifted my own rice pot when I got married. It was like a rite of passage. Each one of my sisters and I have, or will get, a rice pot, because we know you can’t make a decent pot of rice without it. Perhaps we exaggerate a bit, but this has worked for us for my whole life and I’m not going to question it!
You not only need the right kind of pot but the right type of rice. You will need to use long grain white rice. I’ve tried cooking brown rice the same way and it just didn’t work. I had to use my crock pot for brown rice because of how differently it cooks compared to long grain white rice.
Cooking rice is so simple but can go so wrong if you don’t follow the right steps. As I mentioned in previous posts, we never measured out the ingredients when making rice. That is probably why I have had to practice before getting it just right. We mastered the eyeballing technique very well at my parents because we worked with the same pot every time.
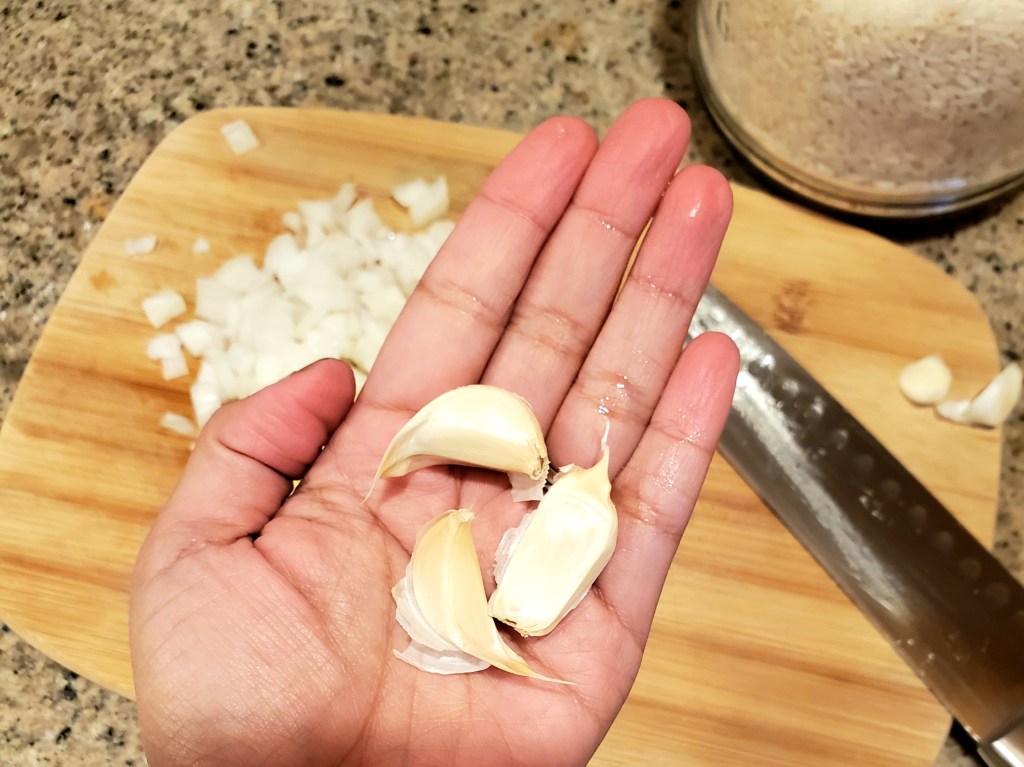
After you get this recipe down you will find yourself relying less on measurements and more on instinct. The only ingredients needed for this classic staple are long grain white rice, onions, garlic, sat and water. Basic, simple, and full of flavor. You can replace the onions with onion powder if you like the flavor of onions but not the onions themselves. Same with the garlic.
When we were running low on fresh ingredients or short on time my mom would do the quick version and use garlic salt and onion powder if we had it. It’s possible, but you can’t beat fresh ingredients.
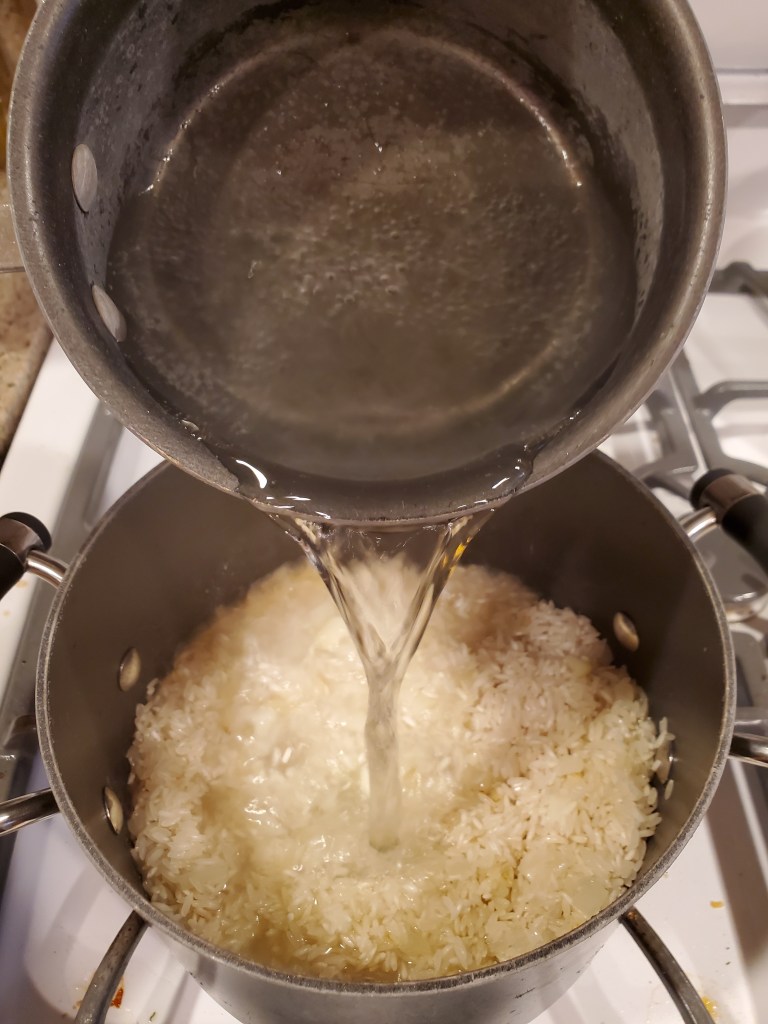
If you are chopping fresh ingredients set you water to boil on high first, so by the time you’re done chopping you have boiling water.
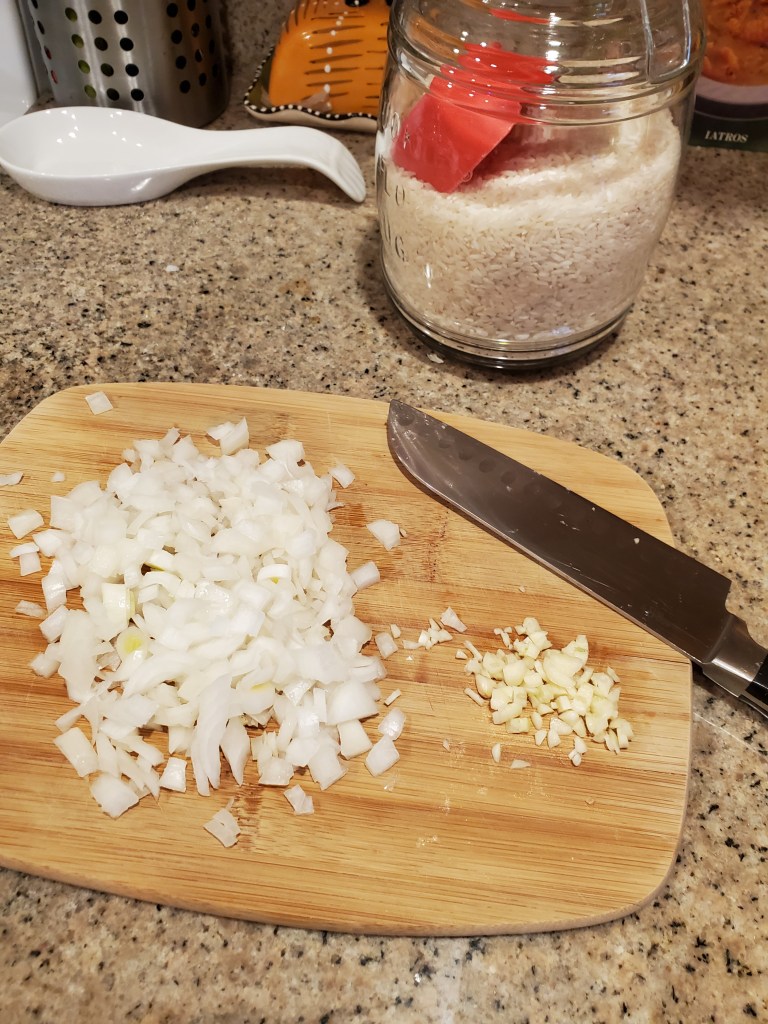
Heat the oil in the rice pot oh high and pour in the garlic and onions. This will cook fast so make sure you don’t step away. Pour in you rice and stir so the garlic and onions get mixed in well. The salt will go in before the water, so once the boiling water is added in slowly the salt will just melt away into the mix.
Stir the rice a bit and let it settle. It should be bubbling, but don’t worry, it’ll settle down once you lower the flame. Now this is the tricky part and will probably take one or two times to get it right. On some stoves, going to the lowest setting is perfect. However, I learned on mine that it needs to be slightly higher than the lowest setting. I recommend starting with the lowest and checking in on the rice after 20 mins. Your rice should steam perfectly for 35-40 minutes. The time depends on whether you want some cocolón.
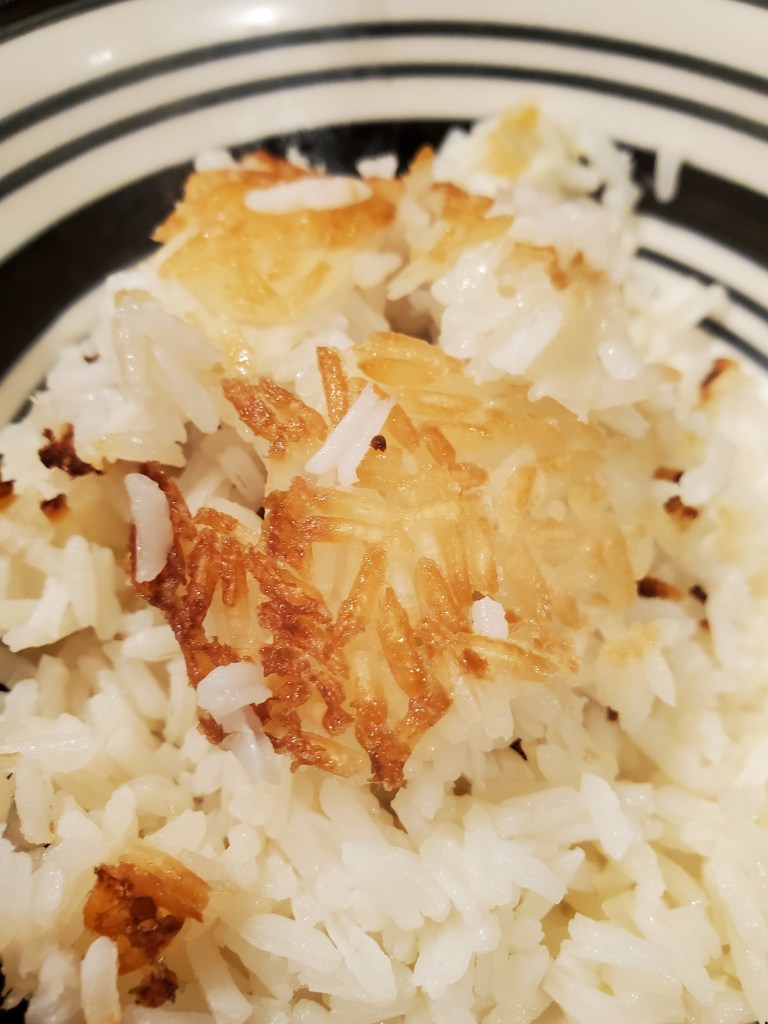
Cocolón, which is often mistaken as burnt rice, is just crispy rice that has browned a bit at the bottom of the pot. This. Is. Amazing. Seriously, in our house we fought over the cocolón and would always ask our Dad to make it. If you ever get to make some by accident (and it’s for sure NOT burnt) then I highly recommend trying it. It’s full of garlicy flavor.
You can always choose to make additions to the rice once you’ve perfected it. Some Ecuadorians add achiote to the garlic and onions in order to make Arroz Amarillo, or Yellow Rice. This goes great with a traditional dish called Seco de Gallina/Pollo. I’ll make that soon and also a variation that my family learned to do that we call Pollo Borracho, or Drunken Chicken.
Let me know in the comments below how yours turned out! What do you eat your rice with? I’d love to know!
Put the 4 cups of water in a small pot on high heat and let boil.
Mince your garlic and chop your onions while you are waiting for the water to boil.
Heat the olive oil in a medium pot on high and add the garlic and onions in the pot.
Stir the ingredients so the garlic doesn’t burn. Add in the rice then the salt and stir.
Add in the water and stir so all the ingredients are mixed. Make sure the rice is settled evenly at the bottom before covering.
Cook on low for 35 (40 minutes if you want cocolón).
Once the timer is up the rice should be fluffy but not splitting. You don’t want to have soggy rice.
Serve with chicken, meat, beans, or eggs and enjoy!
Disclaimer: I may earn a small commission for my endorsement, recommendation, testimonial, and/or link to any products or services from this website. Your purchase helps support my work in bringing you real information about cooking and nutrition.
If you have a bunch of leftovers and are getting tired of eating it the same way, the best thing to do is create something new. One of my favorite leftovers to work with is rotisserie chicken. You can do so many delicious chicken dishes. It basically cuts out the time for cooking the chicken so some dishes will take less time to prepare. If you ever want to do your own rotisserie chicken in the crock pot I can show you that in another post because it’s super simple.
I was originally going to use some uncooked chicken for this recipe but then we conveniently had all this chicken left over from my 2 year old’s birthday this past weekend. We try to eat all leftover food but my kids get tired of the same thing all the time unless it’s rice. They love my rice!
You don’t want to wait too long to use left over chicken because it starts to get dry and won’t last for more than a week in the fridge. Soup is probably my favorite and easiest way to recapture the moistness of a well cooked chicken.
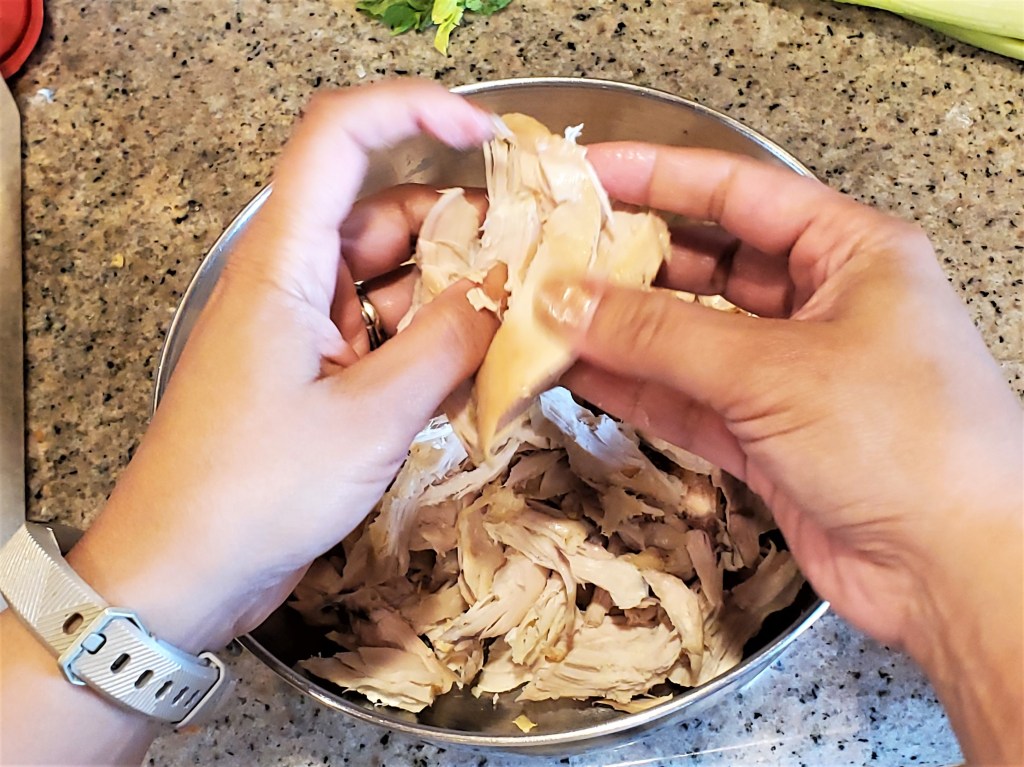
Most of our family enjoys dark meat more than the white meat so we had a lot of the chicken breast to work with. I shredded 3 chicken breast halves in a medium bowl and placed that to the side to start chopping up the veggies.
I used about a half of an onion, one green bell pepper, two stalks of celery, one cup of baby carrots, one cup of corn, one cup of black beans, and one can of diced tomatoes. You can use white, yellow, or red onions for this recipe but white onions are what I use the most for all my recipes. Also, baby carrots is what I buy for my kids so I have the big bags from Costco on hand and just don’t really buy the large carrots unless I have to. I would recommend one medium to large carrot for this recipe.
For the herbs and spices I used, cilantro, garlic, salt, pepper, and cumin. Optional additions would be a chili powder or jalapeño to add some kick and fresh lime juice. For garnishes you’ll need avocado, tortilla strips or chips, and shredded cheese. I buy the Mexican blend shredded cheese bags from Costco because we eat a lot of quesadillas in this house.
Since I had recently made a batch of black beans I was able to use them in this recipe. My black bean recipe can be found in an earlier post here. It’s so yummy and easy that you may not want to buy the canned beans anymore.
After all the ingredients are prepped then you are ready to throw it all in the pot. I use a large pot for all my soups because I love to have some leftovers for lunch and other dinners. This recipe freezes well so I highly recommend making a big batch if you can.
Heat up 2 tablespoons of olive oil on high and add in the onions and garlic. Let that cook for a bit and add in the rest of the veggies, lowering the temperature to medium. Stir it around so all the ingredients get some heat. Add in 2 cups or cans of chicken broth and two more cups of water. Keep it stirring and add in the cilantro and spices.
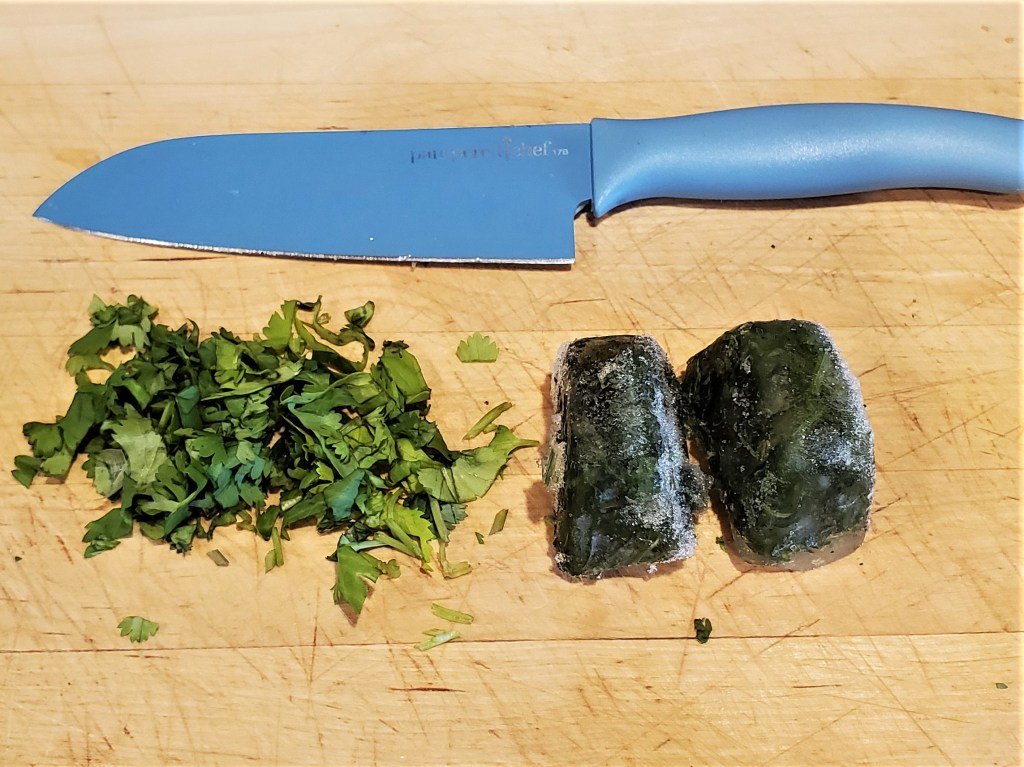
I didn’t realize as I started this recipe that I was low on fresh cilantro so I used my stash of frozen cilantro. I usually freeze half of the cilantro I buy so I can have some on hand for recipes like this one. The fresh cilantro was used for the garnish and the frozen was used to cook with. You can see how I freeze my herbs in this post here.
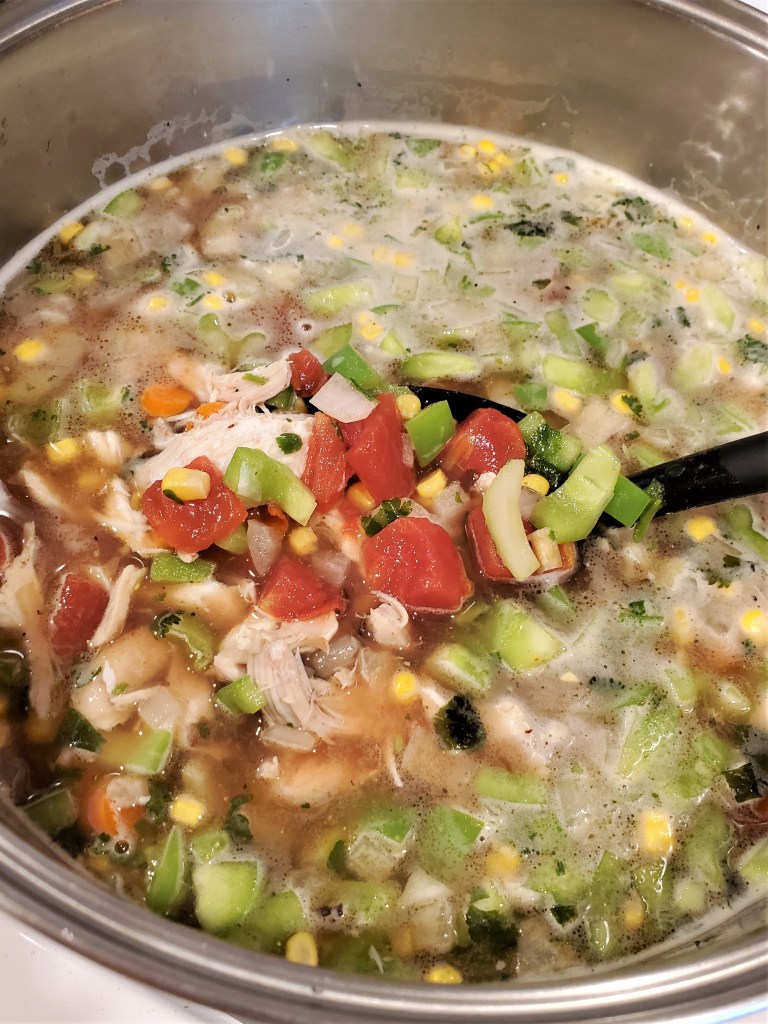
You have probably noticed that I haven’t added the chicken yet. Don’t panic, because I wanted to explain why. So there are two things you can do at this point: add the chicken and serve it as a chunky soup OR blend the veggies for a smooth soup and adding the chicken in the pot to cook everything together for 30 minutes. I give you these two options because I have kids who are more likely to eat a blended soup than a chunky one.
I did a combination of both but that’s because I’m trying to get my kids used to seeing chunky veggies. It kind of worked, though I did have some protesting at the start of dinner.
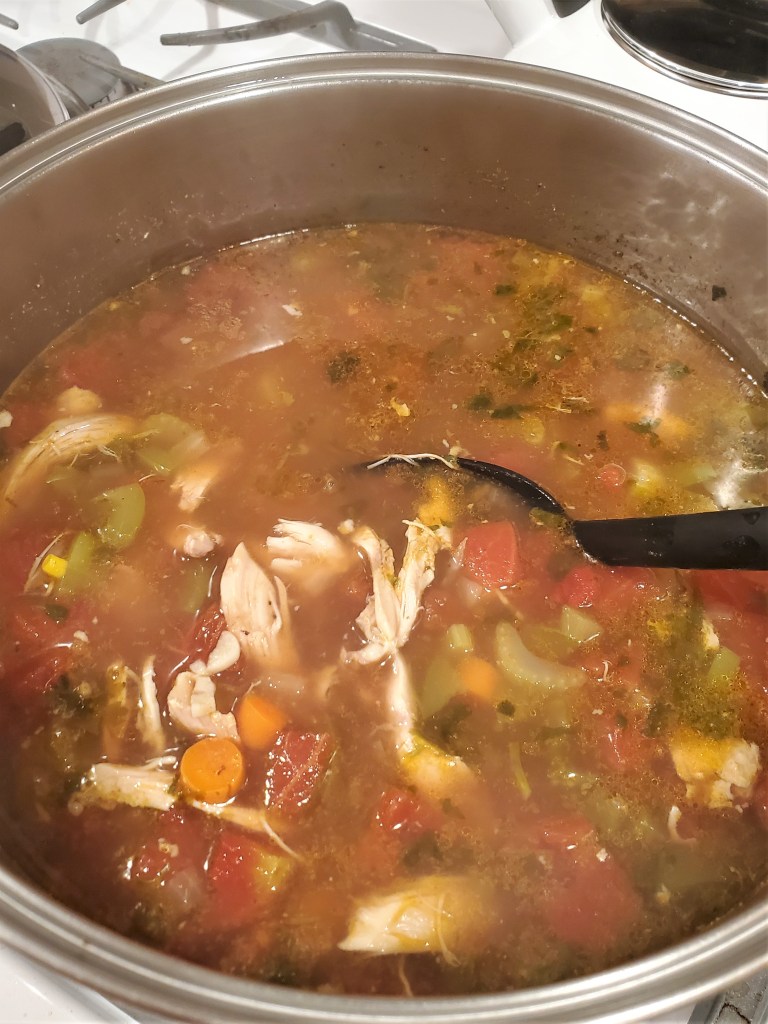
Once everything is in the pot let it cook for 30-40 minutes. The time depends on whether its chunky or blended. Either way you need to make sure that all the ingredients are cooked and the chicken is back to being tender.
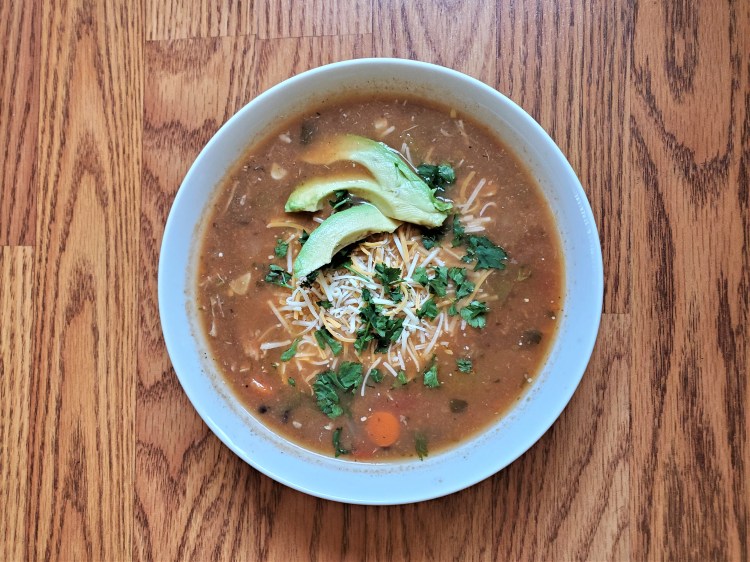
Once it’s ready to serve garnish with tortilla strips, shredded cheese, and fresh cilantro. You can also squeeze some lime juice, add a dollop of sour cream or Greek yogurt, or even some sliced jalapenos for those who love spicy food.
To make this completely vegetarian replace the chicken broth with vegetable broth and omit the chicken. It’s still a flavorful soup without the chicken ingredients.
Let me know in the comments below how yours turned out! Did you make any substitutions? I’d love to know!
For garnishes: Lime juice, jalapeños, avocado, shredded cheese, and fresh cilantro (use the desired amount for each)
Heat the oil on high in a large pot and add in the garlic and onions. Let cook for 1 minute and add in the bell peppers, corn, carrots, and can of diced tomatoes. Stir and let cook for 1 minute.
Add in the chicken broth and water. Stir and lower the heat to medium. If you are not blending the soup skip to step 4.
If you are blending the soup let the veggies cook and soften a bit for about 7-10 mins and then scoop them up, leaving the broth in the pot. Blend all the veggies with a little bit of broth and then pour it back into the pot.
Add the salt, pepper, cumin, and shredded chicken into the pot and stir. Cover and lower the heat to low medium and let it simmer for 30 minutes.
Check the flavor before serving.
Serve with shredded cheese, tortilla strips, fresh cilantro and avocado slices.
Optional garnishes: lime juice and jalapeño slices.
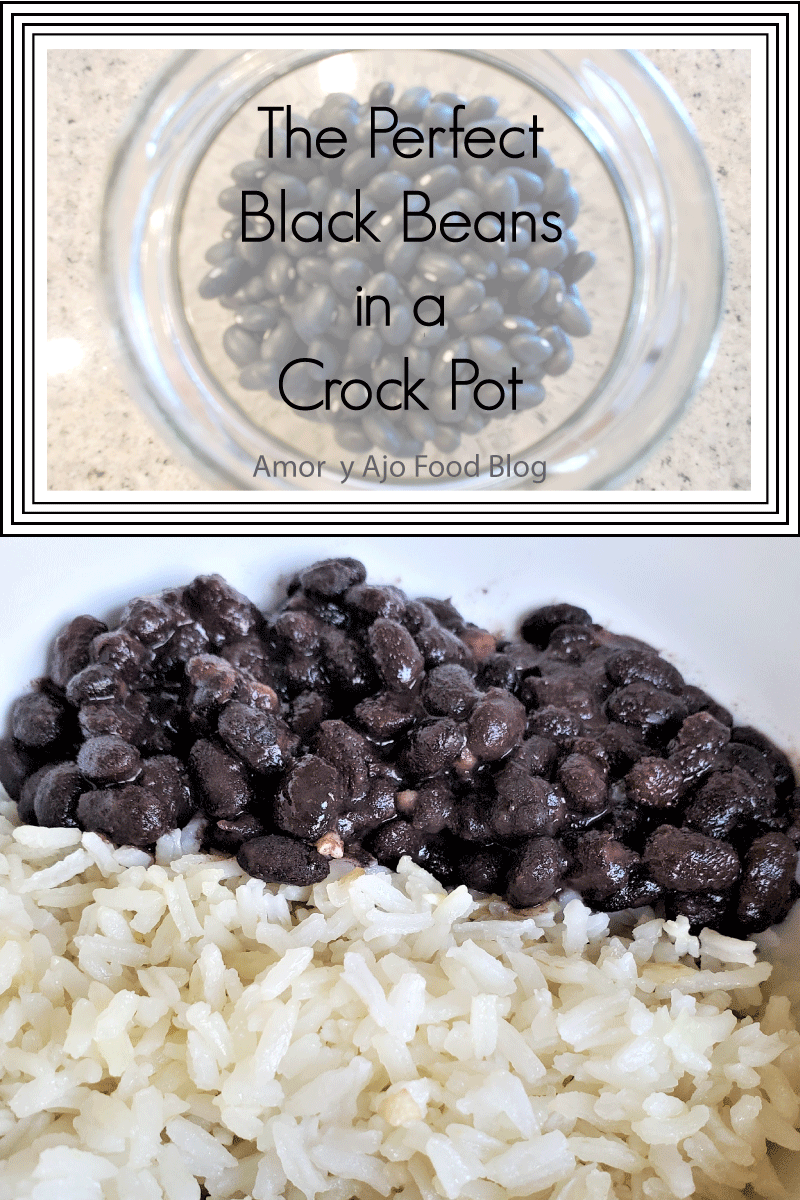
If you are Latino/a you know that beans and rice are a staple in many countries. If you have a good pot of beans you are set for awhile. Beans go with so many things so the possibilities are many. But how do you get the perfect beans every single time?
I get my beans from my local bulk food supplier. The closest one to me is WinCo Foods and they have so many dry goods in bulk to choose from. A few other places to check are Whole Foods, Sprouts, and even your local Latino grocery/market will have a few dry goods to choose from, especially beans.
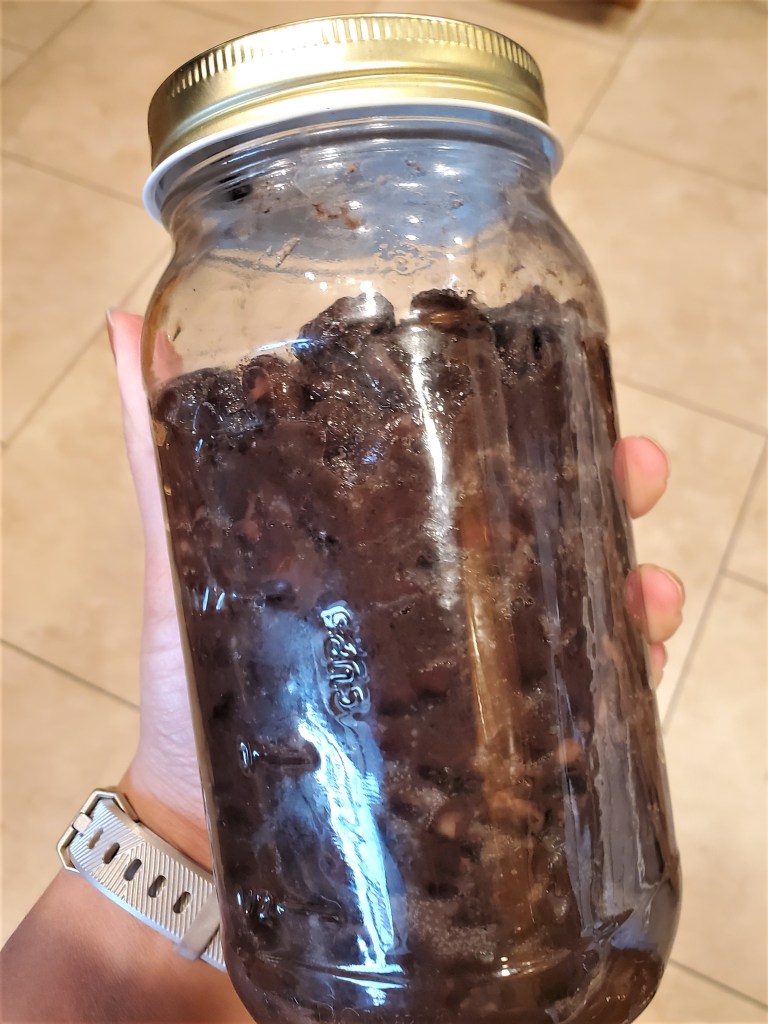
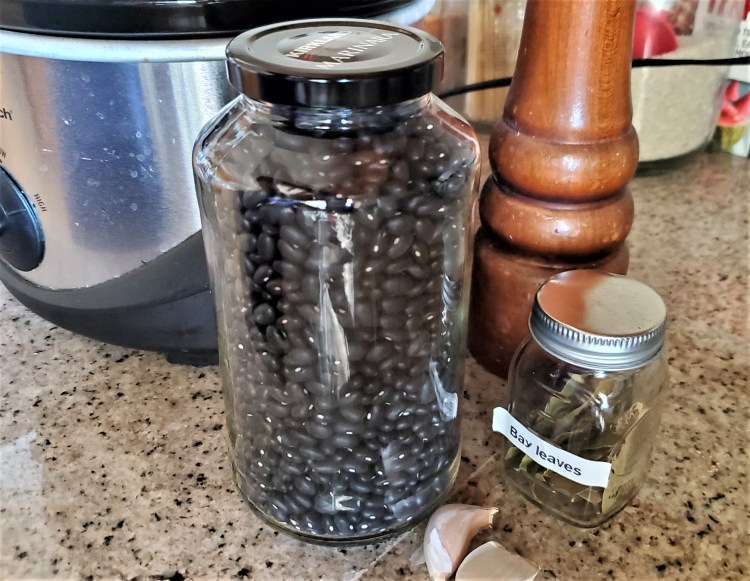
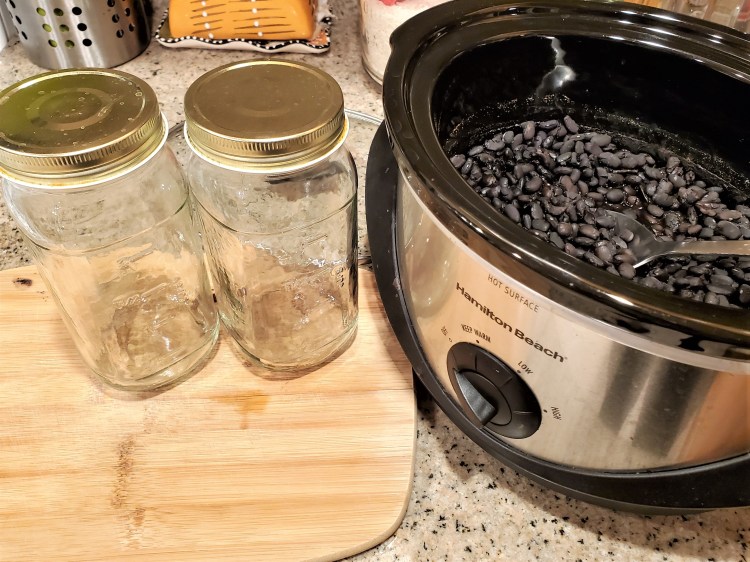
If you don’t have a bulk food store near you then getting the beans dry in a bag are just as good. I just prefer to not purchase any unnecessary plastic. You’ll find that it’s super easy to buy as few basic dry goods plastic free and store them in glass containers you already have or can easily get at a thrift store! I buy a few pounds of beans and store them in some pasta sauce jars that I cleaned and sanitized awhile back.
If you’d like to know how I easily cleaned all my glass jars I’ll make a post about it soon. It’s super easy!
I use only 2 cups of beans in my crock pot to get two jars full. One will be frozen for later and the other will be kept in the fridge for easy consumption. If stored in an airtight container cooked beans can last up to 2 weeks in the fridge and up to 3 months in the freezer! Although you may not reach that length because if it’s any good you’ll be eating them up quick.
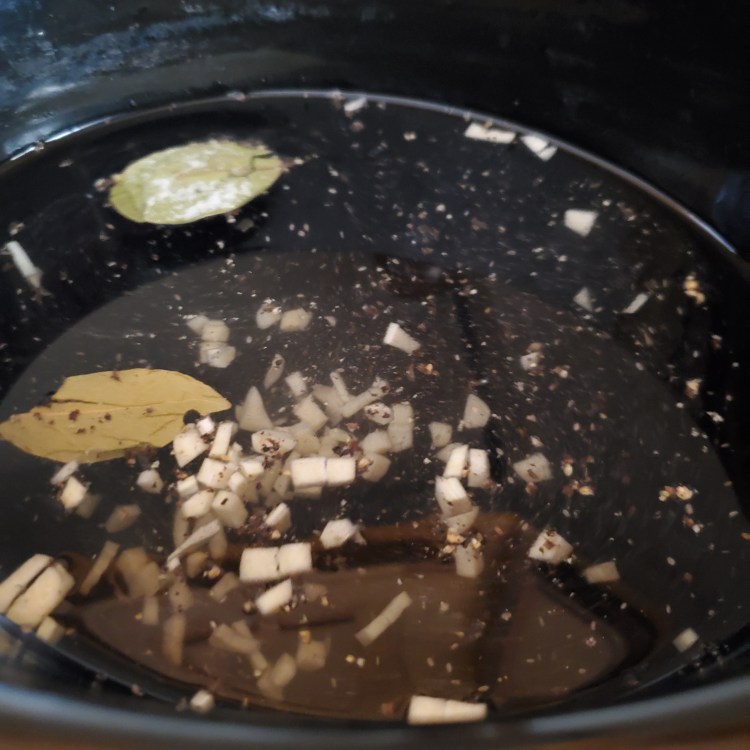
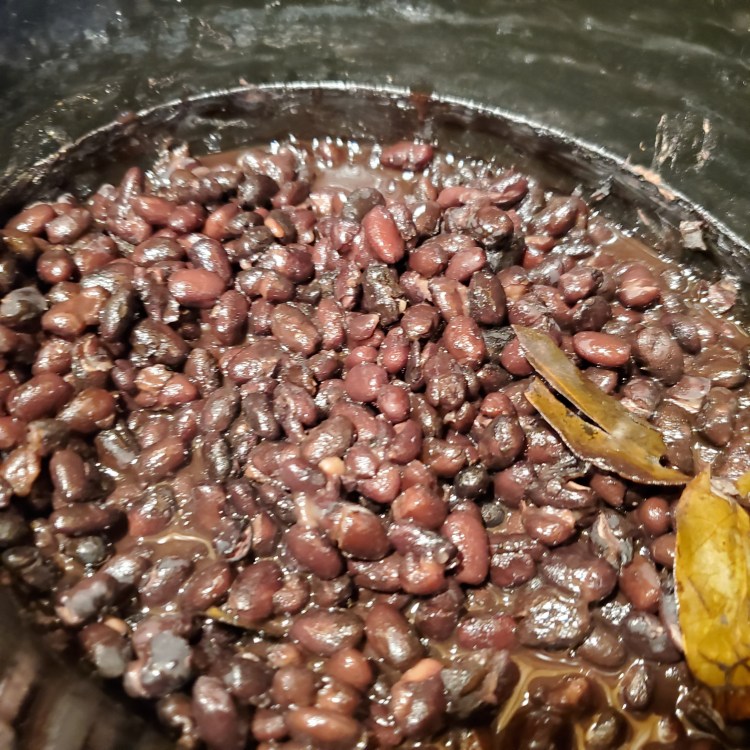
Pour 2 cups of beans in and 4 cups of water. Add garlic, salt, pepper, and two bay leaves. Set the crock pot on low for 6 hours or high for 3 hours. You can essentially start this in the morning and have it ready for dinner.
The crock pot is a great tool to have if you still want home cooked meals but have chores, errands, or kids to take care of. I usually do this in the morning but it really depends on your schedule. I definitely recommend using your crock pot for beans if you are also meal prepping over the weekend.
The crock pot I use is your standard 4 quart slow cooker from Hamilton Beach. If you have a bigger one that is fine, the cooking time should be the same.
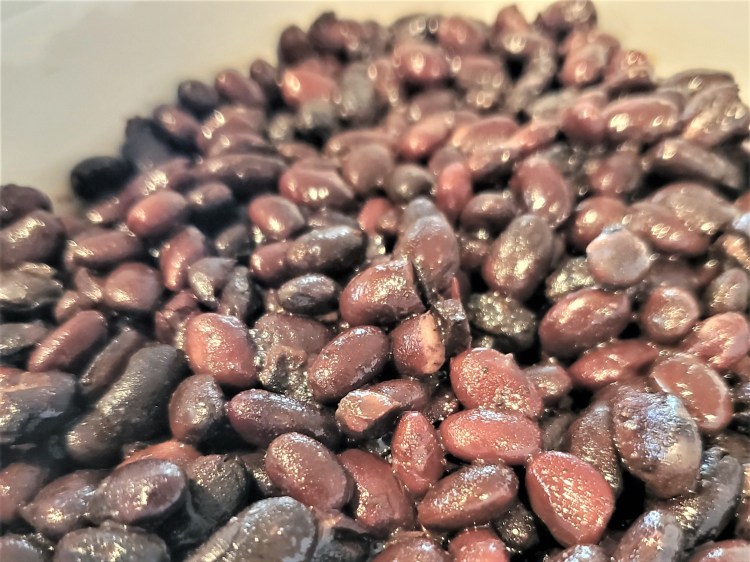
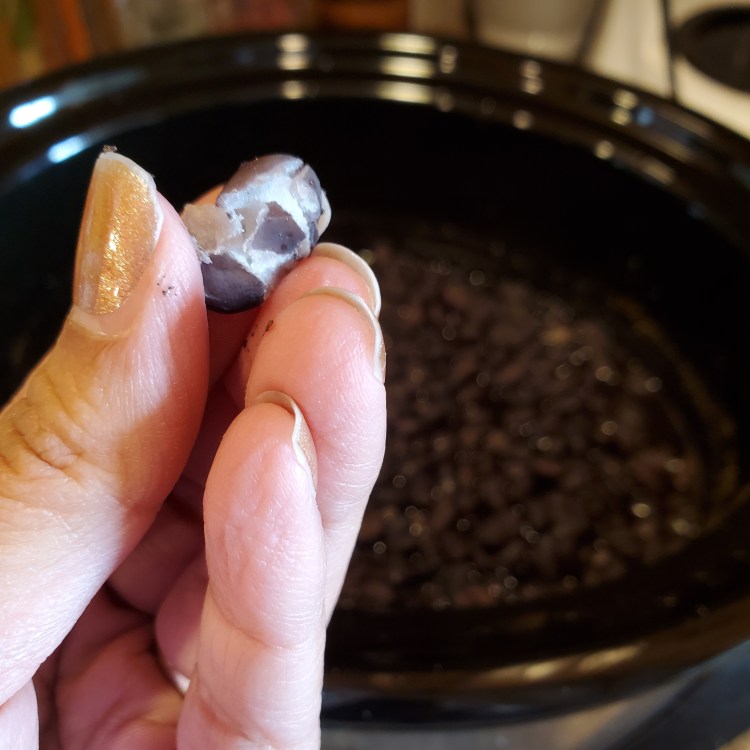
Once the time is up you want to check the beans by squeezing one. You want the beans to hold their shape when you scoop or stir them but you should be able to squeeze them easily. You can also blend or mash these to make refried black beans for other recipes.
Before storing the beans I let them cool. You can discard the bay leaves or leave them in, it doesn’t really make a difference. When they are ready to store make sure it’s in an air tight container. I try to use glass as much as possible and it is more freezer friendly than plastic containers.
Optional additions include ground cumin, cilantro, chili pepper or chopped jalapeños. My mother used to cook the green beans with pork, usually with a bone, and it always came out so good. But since my husband doesn’t eat a lot of pork I omitted this and still found them to be just as delicious. Perfect for your vegetarian or vegan friends! You can use the same recipe to make red, white, pinto, or even kidney beans!
Let me know in the comments below how yours turned out! What do you eat your black beans with? I’d love to know!
2 – 32 oz mason jars, or glass jars that can hold a minimum of 24 oz
Instructions:
Mince your garlic and measure your spices
Add the black beans, garlic, salt, and bay leaves in the pot.
Add in the water and stir so all the ingredients are mixed. Make sure the beans are settled evenly at the bottom before covering.
Cook on high for 3 hours or on low for 6 hours. Once done turn it off and let it cool.
Check the beans by squeezing one. It should not feel like puree but slightly firm and squeezable.
Store these in your glass jars. Wait until they have cooled before putting in the fridge or freezer.
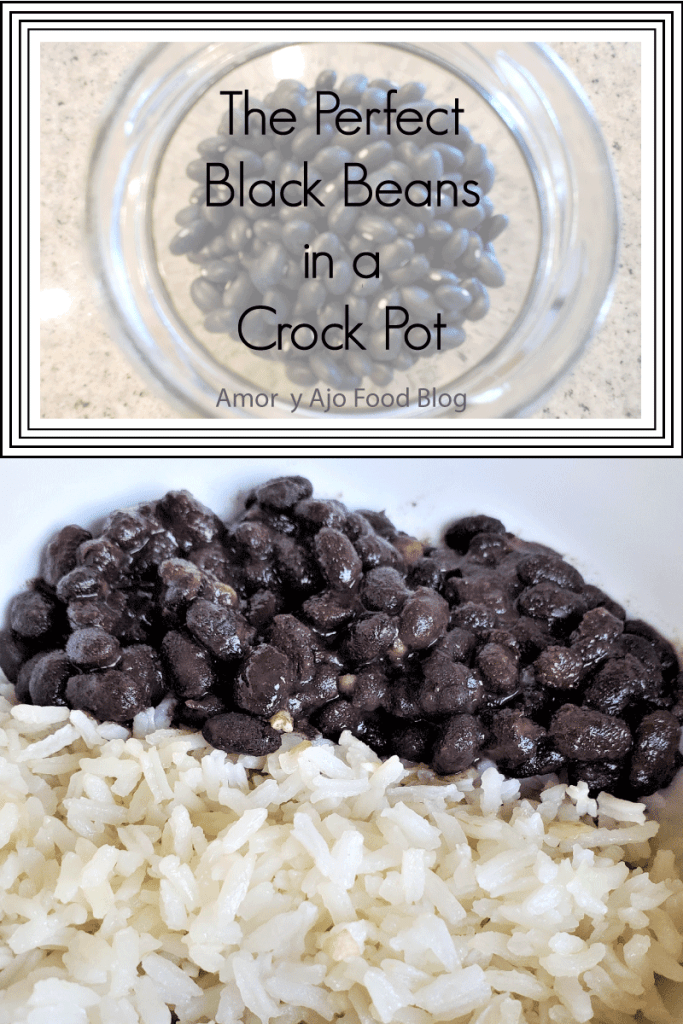
For immediate consumption, serve with white rice or use in a soup or salad once cooled.
Disclaimer: I may earn a small commission for my endorsement, recommendation, testimonial, and/or link to any products or services from this website. Your purchase helps support my work in bringing you real information about cooking and nutrition.
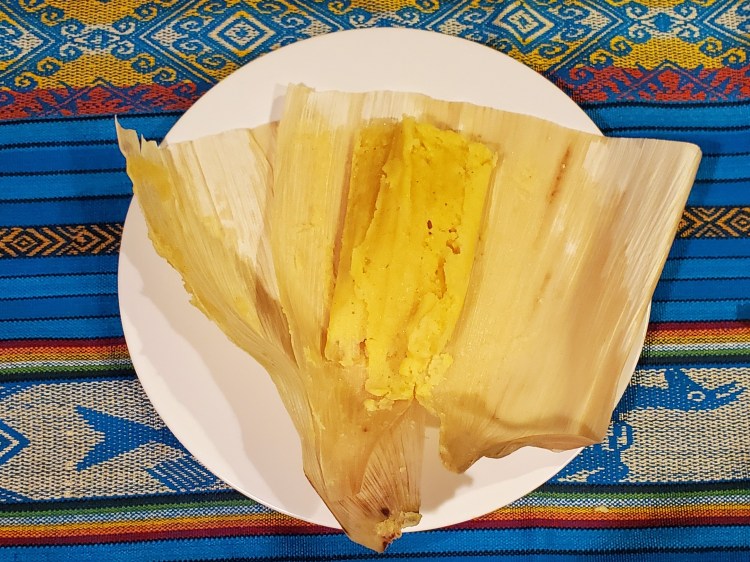
This past weekend, my dad taught my little sister and me how to make a traditional Ecuadorian dish call “humita.” Humitas are a seasonal dish that isn’t eaten all year round, but I can honestly say, when they taste this good, why not?!
Humitas, a steamed corn cake, is simple in ingredients but has a very precise process. You might make yours differently but in my parent’s casita this is how we make it. I will definitely be passing this on to my kids.
As I learn to cook more traditional dishes, and not just everyday meals, I can see how much work goes into creating and preserving our culinary culture. After learning the process from my dad, I think this should be prepared more often than not. But I digress…let’s get to the humitas.
One thing to remember is that Latinos tend to disregard measuring ingredients, which is why some recipes have been hard to document. The entire time we tried to documented the process of making humitas and my dad would just say “That’s good,” or ” Just a tiny bit more.” So I did my best in trying to eyeball the measurements for these delicious treats.
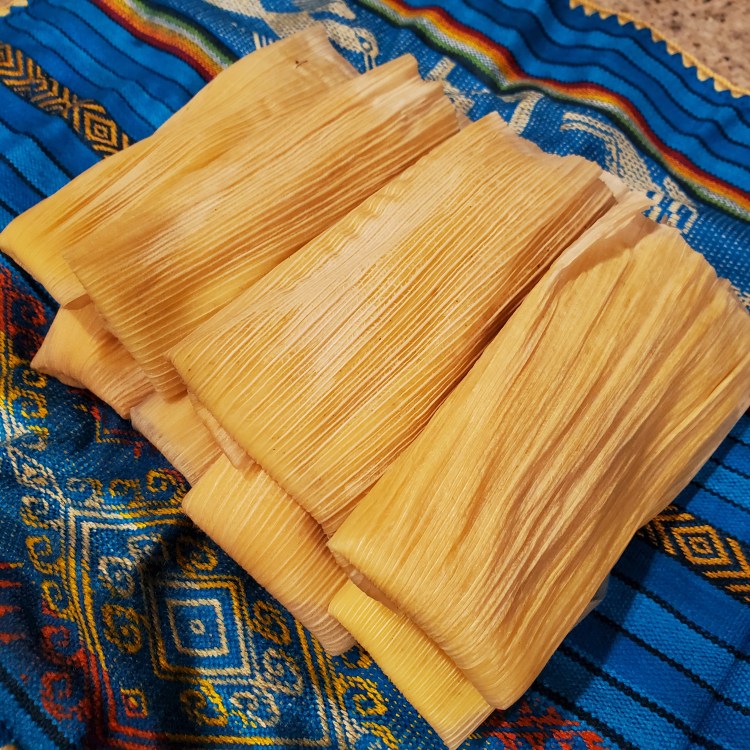
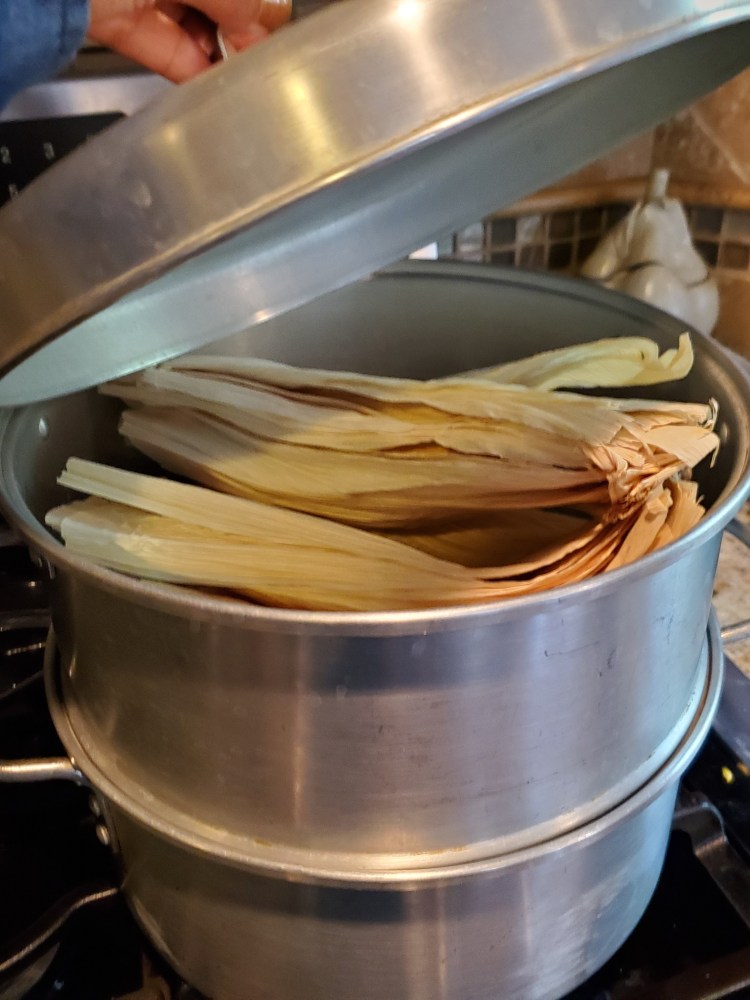
We prepped all the ingredients and made sure that the blender and bowls were handy for all the mixing. In order to use the husks we steamed ours, but you could also presoak the husk so they don’t get stiff. Since coming out of the holiday season you can basically find corn husks everywhere, but if you are having difficulty finding them then you should find your local Latino grocery/market because they have them year round.
While the corn husks steamed, we prepped the wet ingredients. First, the butter should be melted in with the milk and yeast. Microwave that mixture in a microwave safe bowl or cup for about 45 seconds. Pour that into a large mixing bowl and go blend the corn mixture.
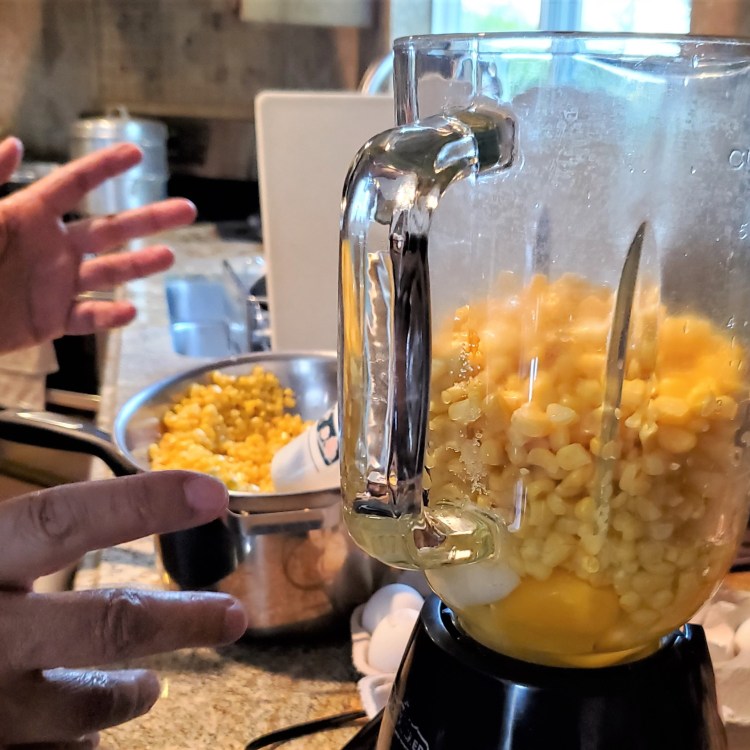
First, crack 3 eggs in the blender, add half the salt, half the sugar, and half the corn. Blend on high until smooth. Add this mixture to the butter mixture and repeat this step one more time until all the corn is blended. Add the second batch of corn mixture to the butter mixture and stir until smooth.
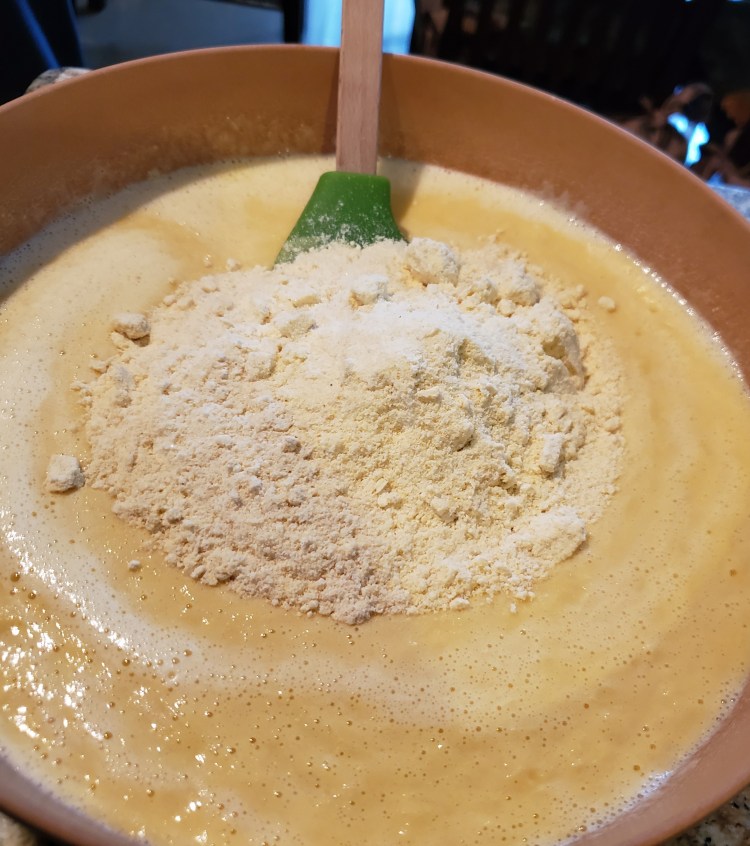
Next comes the masa. Add the masa a little bit at a time until it is all in and stir until smooth. Then add the cheese and stir until completely incorporated. This needs to feel thick but you don’t want the masa to feel like dough or be too runny. Once this is ready get your corn husks out of the pot and into a bowl to create your assembly line.
The corn husks need to be big enough to hold about 1/2 a cup of masa in the center. You can double up on the husks and just have them overlapping. Try not to use husks that have holes where the masa will be poured. Place the masa in the center and fold one side long ways, the pointy end down, and then finally the other side wraps around. You can always use husks ties from any rejected husks to tie the humitas but that’s not necessary.
Place the wrapped humitas in the steamer pot and place on the stove. Make sure to check the water level and add more if necessary. Keep the temperature on high so the hottest steam will be produced to cook the humitas. They should be ready in half an hour.
Optional ingredients would be scalions or onions grilled in achiote and it would be added in the middle of the masa before folding it close. We didn’t do that for this batch because not everyone in the family likes onions, and the kids love this version the best, so these pictures are without the onions. But I highly recommend them if you are a fan of grilled onions.
To make this completely gluten free make sure to do the following:
Buy Gluten Free Masa. We used Maseca White Corn Masa and it can be found in most grocery stores. Yellow Corn Masa is also fine.
Make sure your butter is gluten free because not all butter is.
2-3 8oz bags of corn husks (enough to make 40 humitas)
1 cup of onions or scallions, grilled in achiote (optional)
If your corn husks are stiff you will need to steam them in the steaming pot while you work on all the other steps. Add 4 cups of water at the bottom compartment and the husks in the top compartment and cover. Boil the water on high and check on the water level periodically. Add water if needed.
Melt butter, milk, and rapid rise yeast together in the microwave for about 45 seconds. Pour mixture into a large mixing bowl. You will be adding in the rest of the ingredients in that bowl.
Blend the eggs, salt, sugar, and corn in TWO batches. Add half those ingredients for one batch and the other half for the second batch. Add both mixtures into the melted butter mixture.
Add masa into the mixture 1/2 cup at a time and blend well. Add the shredded cheese and blend well.
Remove the husks and separate them. Make sure you choose husks that don’t have holes. Hold the husks in your palm with the narrow end up. Add 1/2 cup of masa in the center and fold long ways one side, pointy end down, and finally the other side wraps over. Secure with a husk tie if needed but usually it isn’t required
Stack or lay down the humitas in the steaming compartments and put on the stove. Add more water to the bottm if needed. Let them cook for 30 mins minimum.
Serve with coffee or tea. Unwrap the husk and enjoy!
Disclaimer: I may earn a small commission for my endorsement, recommendation, testimonial, and/or link to any products or services from this website. Your purchase helps support my work in bringing you real information about cooking and nutrition.